Tuesday, June 12, 2012

Tech on assembling a Halibrand Quickchange

I've been doing more of these original banjo, and Halibrand Quickchange rear ends lately. And so I thought I would do a detailed tech on how I assemble one.


First here are shots of some of the individual parts involved:
Quickchange center section (Rodsville)
Original 1940's Halibrand rear cover
Original 1940 ford tubes
Original Ford ring and pinion
Original Ford Axles and Differential
Brand new bearings and races


The first thing that I do is set up the differential bearing pre-load. I do this by placing the left side axle tube on the quickchange and bolting it down without any gasket.


Next I take the differential and put one axle in. Then place the spider gears on top and take a piece of rope with knots in the end and wedge it between the spider gears. After that I place the top of the differential on and bolt the ring on.

Next I place the differential in the quickchange and bolt on the right side axle tube. Then I stand the left side axle tube up in the air with the axle sticking out. This allows me to place a nut on the axle and use my inch pound wrench to take a measurement of the differential bearing pre-load. And because I have the rope inside the spider gears that makes the whole assembly turn.

If the reading is too high then I place special gaskets between the right axle housing and the center section until the reading drops to where I want.


Once I have the proper amount of differential bearing pre-load I assemble the differential with both axles and torque down the nuts for the final time.


The next step is to put in the lower shaft and it's bearings, and the pinion and its bearings and double race.

The center section is heated to 300 degrees in an oven to expand the case, and all the bearings and pinion are placed in the freezer to shrink them down. That way everything just slides into the center section.


Once the center section has cooled down completely I torque down the nut on the pinion to set the pinion bearing pre-load. I check back and forth with my inch pound wrench to make sure that the bearing pre-load is accurate. Then once I have that right I place on the flange washer and the other nut and lock the two together.


The next thing to check for is the backlash between the ring and the pinion (basically its the amount of movement the pinion has before it turn's the ring). I completely assemble both tubes, differential with axles, and gaskets all on the right side. With the gaskets on the right side that moves the ring away from the pinion as far as possible. Then I use a dial indicator to measure the backlash. If the backlash is too much then i'll take one of the gaskets from the right side and move it to the left side. Which moves the ring a little tighter to the pinion. I do this until I have the correct reading on the backlash.


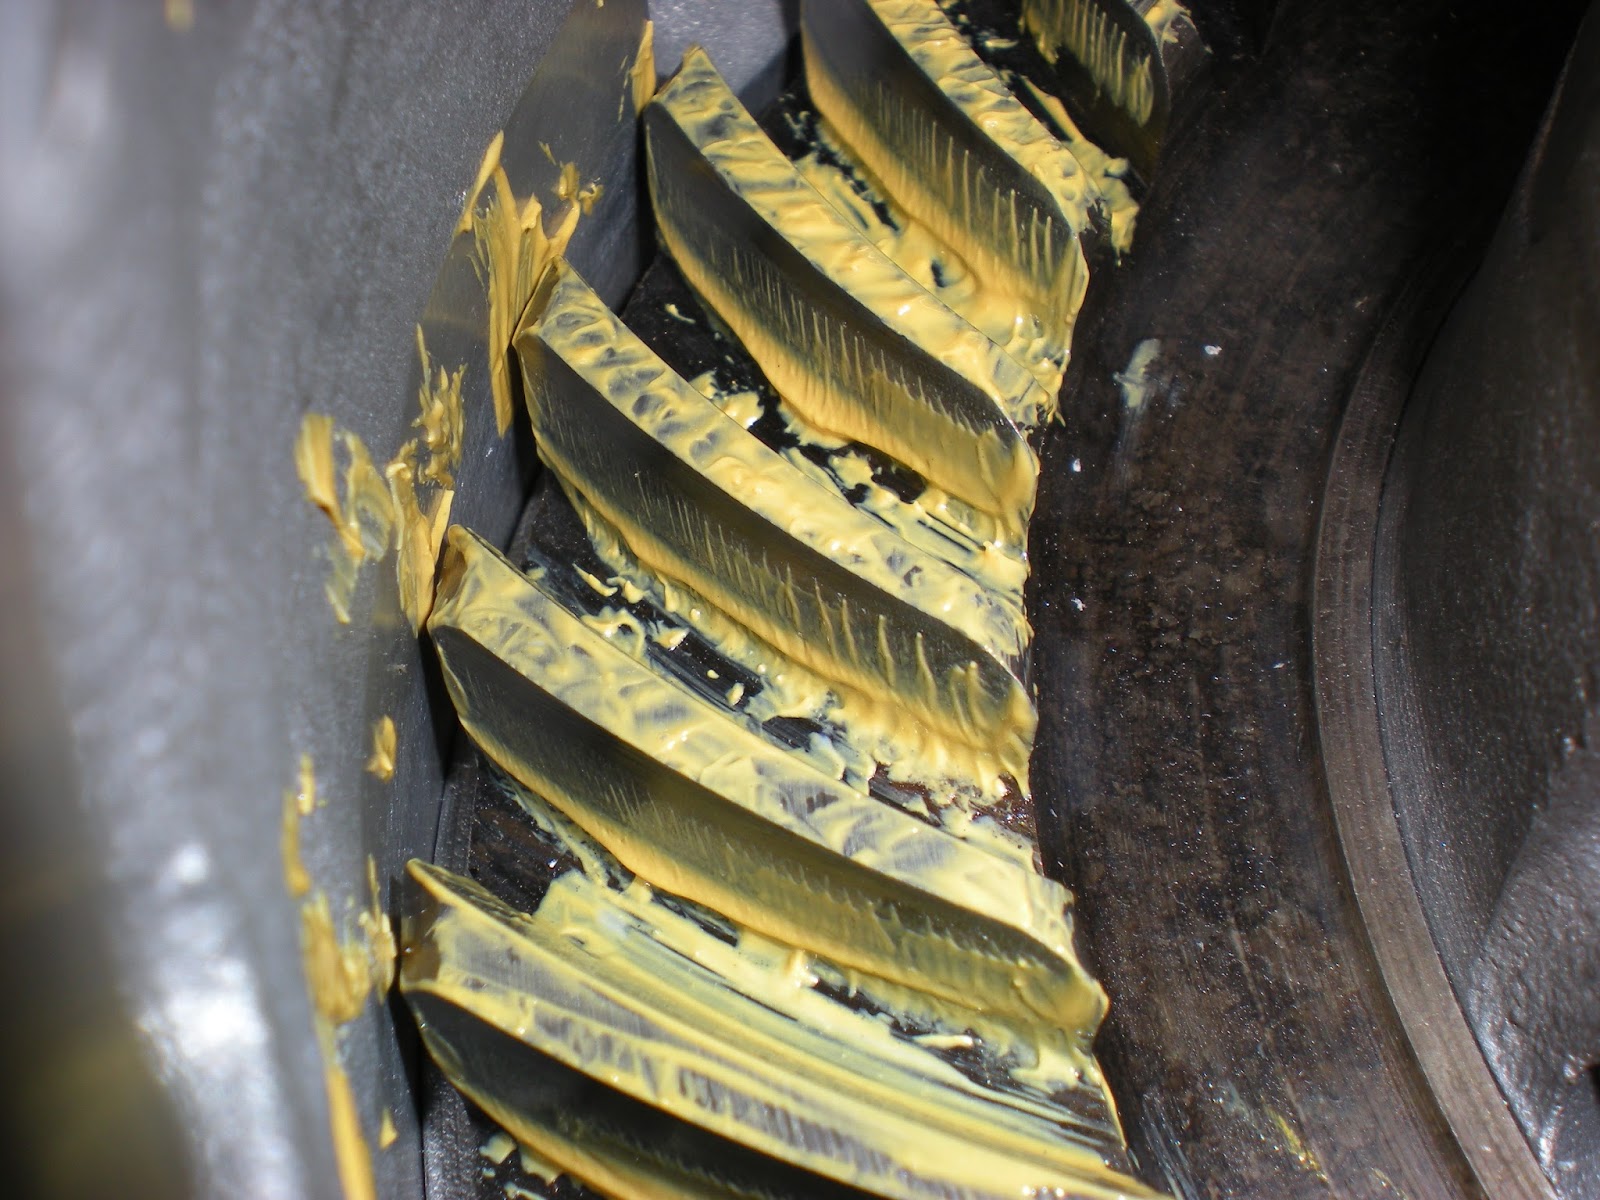
Once that is done I put a special marking compound on the ring to check the gear mesh. I turn the pinion around for a while then I check to see what type of pattern I have. This one has a good pattern that is all the way across.


Now it's ready for the end seals, and the tubes to be placed on for the final time.


I placed a bead of sealant on both the tubes and got them torqued down. So now the axle is completely finished.


Wednesday, June 6, 2012

Got the plymouth back on the frame

I went and put the body back on the frame cause i'm getting ready to start figuring out the placement of the engine and transmission.


Finishing things on the 29' roadster pickup

Im getting all the details finished to where the owner can take over.

I got the gas tank bottom all finished. I got the headers welded up. And i'm working on finish welding everything on the frame.


Tuesday, June 5, 2012

1933 Phaeton

This car belongs to my buddy John. Its going to be the next full build here in the shop. Were just in the "gathering parts stage". The body is super clean, and we got a really nice frame. The rear axle is a 36' banjo that I rebuilt, and the front end will be 33' ford parts.


Thursday, May 10, 2012

Hood and grill back on the 32' sedan.

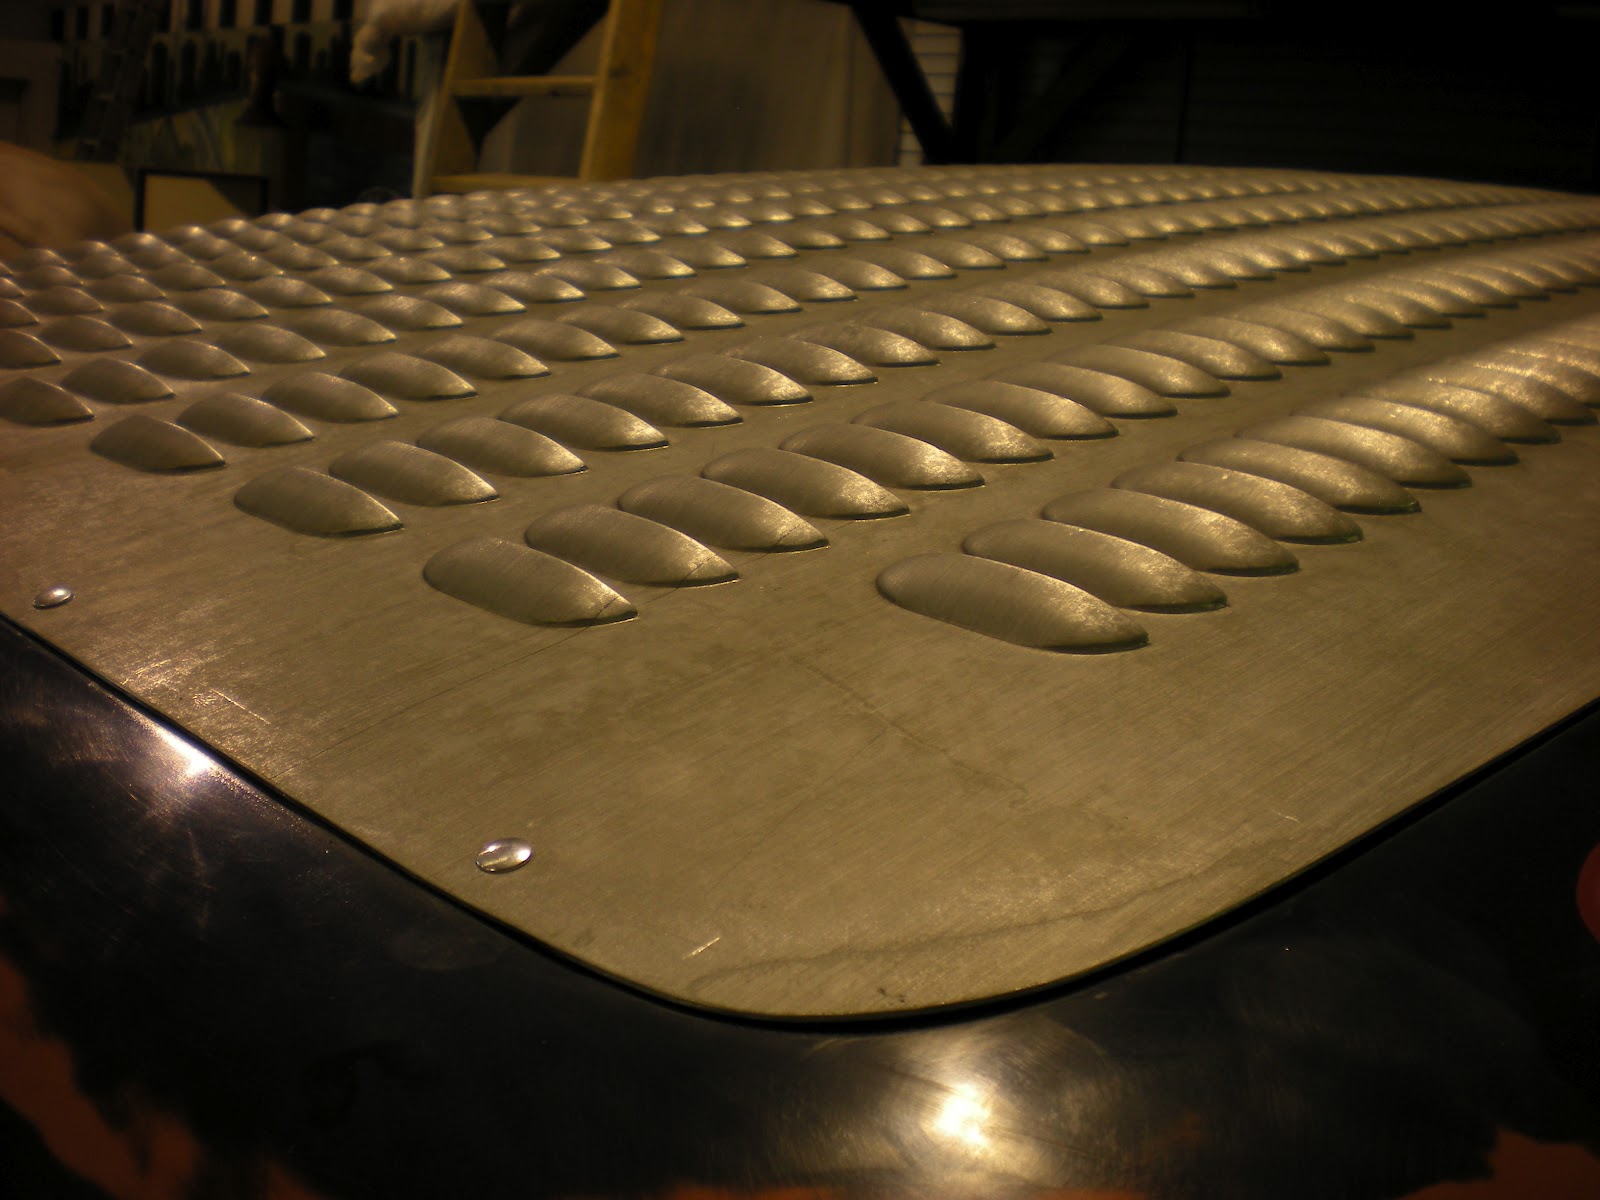
Its been hectic here getting ready for my wedding next week. But I did get the hood tops and grill back on the sedan. Then I took the louvered roof insert out and used muriatic acid on it. It took the new shine away and gave it a chalky appearance. It also brought out the grain of the aluminum so its got these distinct lines front to back. Looks more natural on the car now.


Tuesday, April 24, 2012

Made the other bracket on the axle for the panhard bar.

I made the other bracket and got it attached to the axle. Now all it needs is the new bar and tie rods.


Finished the exhaust plugs on the 32' sedan

I had the machine shop make me some machined caps to plug the end of the side exhaust.


Monday, April 23, 2012

Got the drag link made for the 32' sedan

I had the machine shop up the street make the drag link bar. Then i'm using model a tie rod ends cause I really like how they look.


29' roadster pickup front panhard bar

I'm getting back on the 29' roadster pickup here in the shop. With the quarter elliptical springs up front there isn't anything to keep the frame from shifting side to side. So i'm making a panhard bar. Made the bracket that welds to the frame.


Friday, April 20, 2012

Got a few more things done inside the car.I got the floor finished, and made the gas pedal. Had to extend an original, but it works great.

Then I got the steering blister mounted, and re-shaped the Schroeder pitman arm to look more like an original ford pitman arm. Then I tapped the end of the Schroeder box and made a dummy set of threads so that I could bolt on a stock ford castle nut and washer. That way cosmetically it looks like all ford components without doing anything unsafe to the steering box.


Tuesday, April 17, 2012

Got the corner patch panel welded in on the plymouth.

I finished welding in the corner patch panel. Because of the structural piece behind blocking access to the back side of the weld I will have to do some leading to make the panel all smooth.


Made the cover for access to the brake master cylinder.

I made the access cover for the brake master cylinder today. Messed around with my beadroller to create the x design in the middle. I was able to make the x without crushing the middle of the previous bead when I crossed over it.


Monday, April 16, 2012

Got the transmission tunnel made for the 32'

I made the transmission tunnel in the 32' sedan. There was a lot going on especially up front where it needed to be right on top of the support brace that will hold the bottom of the steering box brace.